This article will show you how to setup email on your iOS based device. This process will work on your iPhone, iPod Touch or iPad. While the screen shots are from an iPhone running iOS the same settings should work on any iOS device.
1. Tap Settings
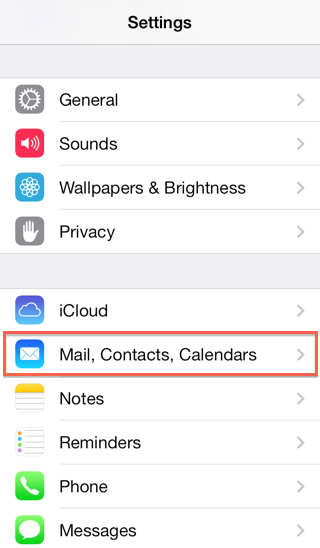
2. Tap Mail, Contacts, Calendars
3. Tap Add Account
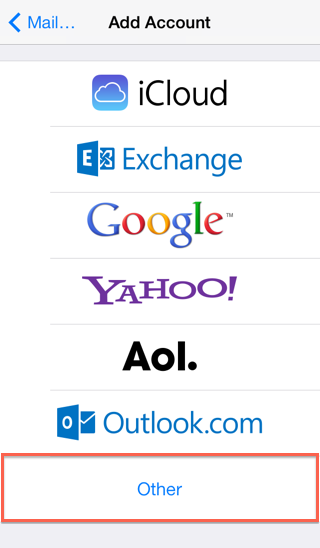
4. Choose Other
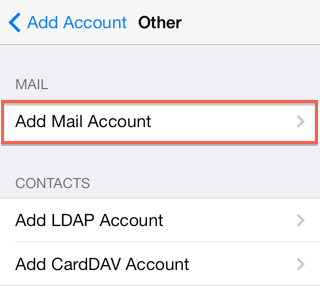
5. Choose Add Mail Account
New Account Information
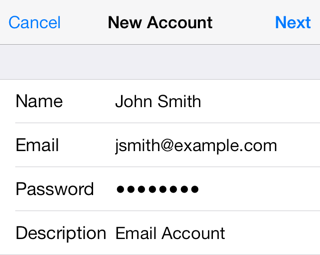
- Enter your Name
- Enter your email address as the Address
- Enter the password for your email address
- Tap Next
Incoming Mail Server
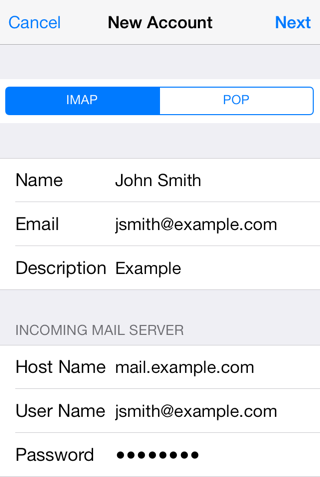
- Host Name: This is typically your domain name preceded by "mail.". This can be found in the E-mail Accounts section of the cPanel, under More > Configure Mail Client.
- User Name: Your email address.
- Password: The password for your email address.
Outgoing Mail Server
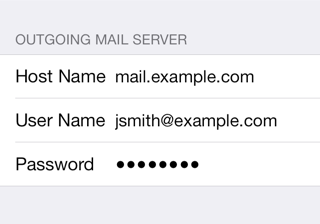
Although iOS may indicate these fields as optional, please enter your full email address and password
- Host Name: This is the same as the incoming server.
- User Name: This is required and again is your email address.
- Password: The password for your email address.
- Tap Next.
Cannot Verify Server Identity
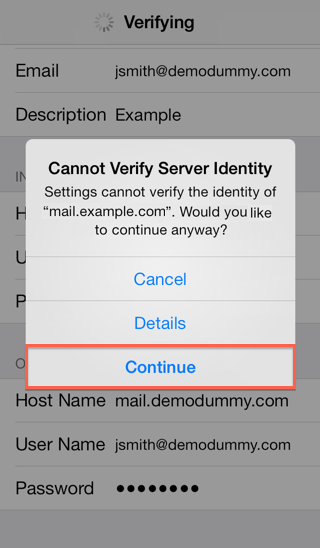
This error message occurs because the certificate is for *.BlueHost.com instead of your domain. Click continue to accept the certificate.
Mail and Notes
The final screen will ask if you want mail and notes turned on for this account. Leave them both on and tap Save.
- Leave Mail and Notes set to on.
- Tap Save.
How to store Sent, Drafts and Trash on the server
To do this please go to Settings > Mail, Contacts, Calendars
- Choose your email account
Tap Advanced
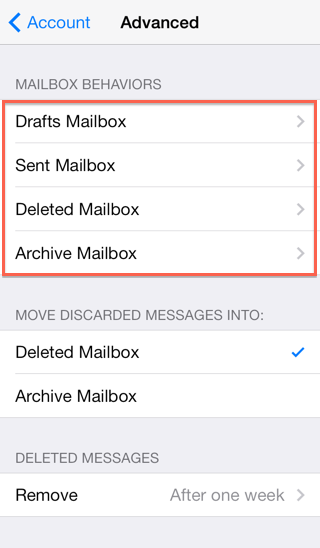
Under Mailbox Behaviors choose the mailbox you wish to configure.
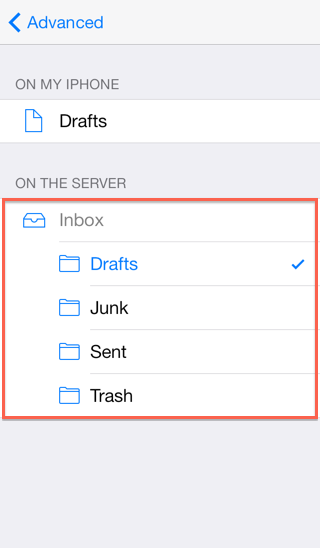
Choose the corresponding folder on the server you wish to save the email in.
Repeat the above steps for any other folders you wish to store on the server.
